Medium: Adobe Photoshop
Time: 1-2 weeksGrade: 9-12
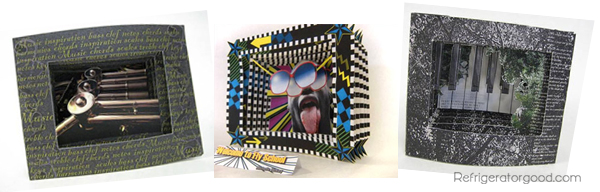
Objective: Design and Create a 3-d Tunnel Book
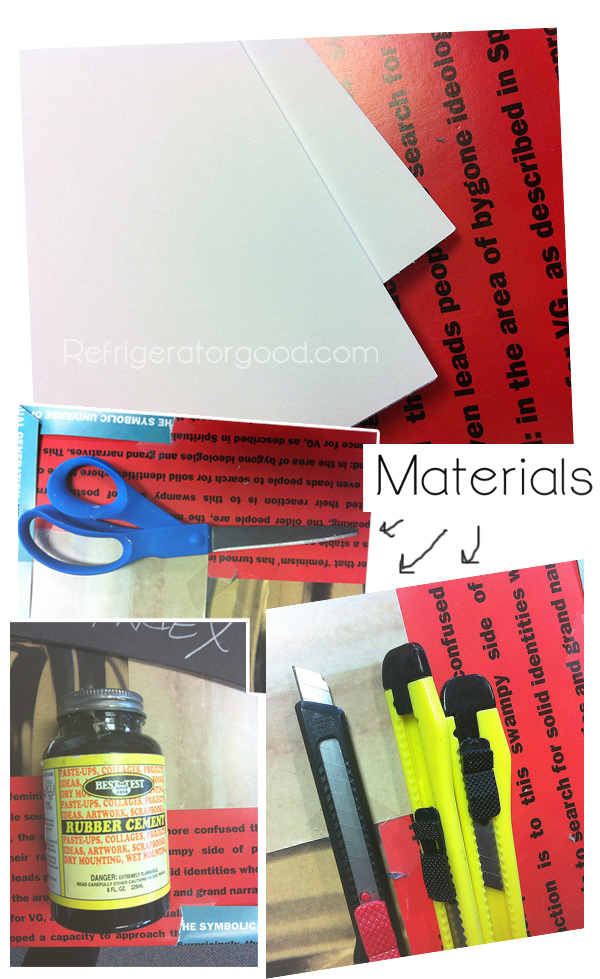
Materials: Digital camera, Cardstock, Rubber Cement, X-acto Blades
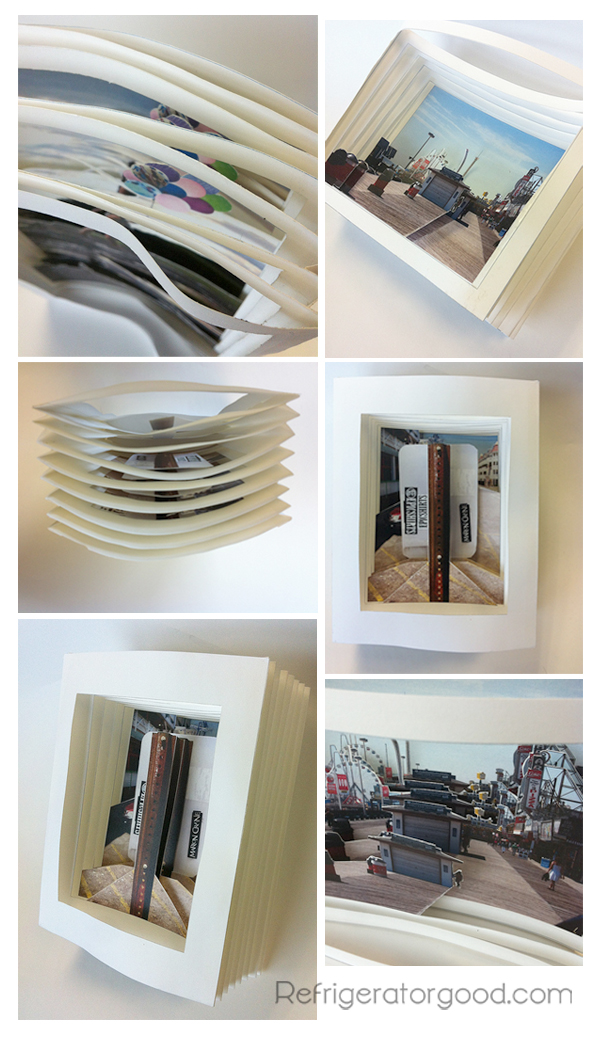
For this project I had students start with a single edited photo. The idea is that in each page of the book more and more of the photo is added creating a three dimensional effect.
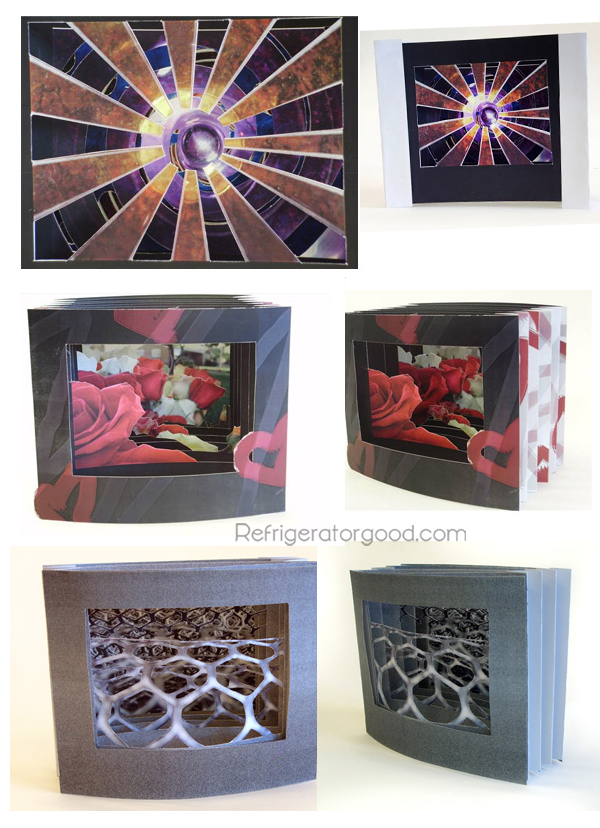
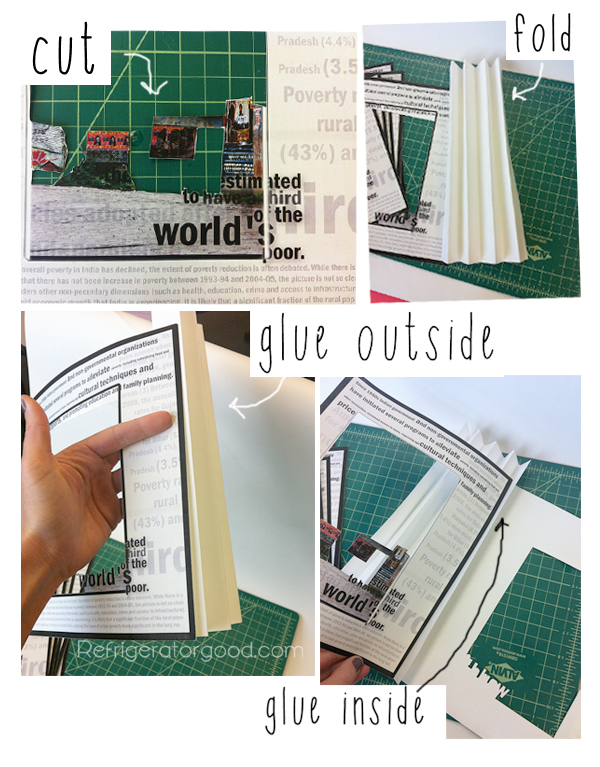
I have the students create separate layers/and pages in photoshop for printing. Using the polygonal selection tool they subtract from the original image. [see below] Each file is printed separately and then the white area is cut away with an xacto blade.
TIP: Card stock paper works best for the pages and sides of the book.

After students finish cutting the white areas away they may begin creating the sides of the book. It is important that the folds of the accordion sides are the same width. Smaller folds work better for book with 6 pages or more.
Rubber cement works great for attaching the pages to the accordion folds. Paint it on the back of the pages and the inside of the fold, let it dry and then attach. {the dry rubber cement will stick to itself without wrinkling the pages.}
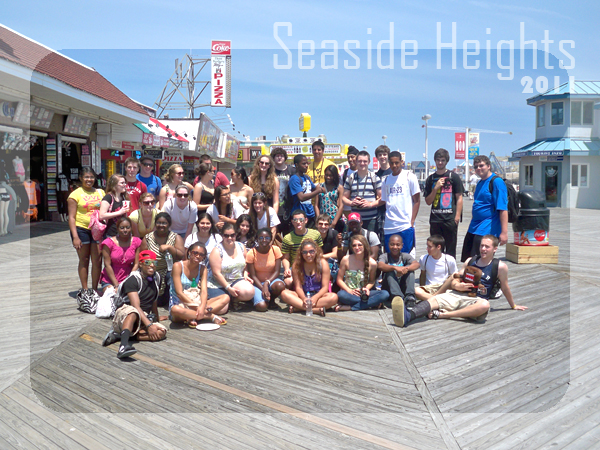
For the 2011 books I took the kids on a trip to Seaside..check us out. [See tunnel book results below]